Your Cart is Empty


Boat Wrapping Secrets: Things Nobody Tells You Before You Start
Key Takeaways
- Boat wrapping is more than visual appeal, it protects the hull, minimizes UV damage, and increases resale value.
- Surface preparation is crucial, clean, sand, and smooth the surface before applying vinyl to ensure proper adhesion.
- Material selection matters, boats with an aluminum sheet hull need specialized vinyl designed for metallic surfaces.
- DIY boat wrapping can save money but requires patience, precision, and the right tools for professional results.
- Professional installers offer design customization and warranties, searching for “boat wrapping near me” helps find experts experienced with aluminum and fiberglass hulls.
Boat wrapping is an exciting way to customize your boat’s appearance, but many beginners dive in without understanding the hidden challenges. Whether you’re considering a full wrap or a DIY project, it’s essential to learn the process, from preparation to material selection, before working on your vessel.
A proper boat wrap does more than enhance aesthetics, it protects the hull, prevents UV damage, and boosts resale value. Using quality materials like an aluminum sheet and preparing the surface carefully ensures long-lasting results. With attention to detail and the right techniques, you can achieve a professional finish that truly transforms your boat.
Why Boat Wrapping is More Than Just Aesthetic
When most people think of a boat wrap, they picture vibrant colors, unique graphics, or custom designs that make their boat stand out. While this is true, boat wrapping goes beyond aesthetics. A properly applied boat wrap can protect the hull, minimize UV damage, and even enhance the resale value.
Many boat owners underestimate the preparation needed. Wrapping a boat isn’t simply covering it with vinyl; it involves detailed cleaning, surface smoothing, and in some cases, repairing small scratches or dents. For boats with hulls, extra care is required since aluminum surfaces can react differently to adhesives compared to fiberglass.
Choosing the Right Material: Why Aluminum Sheet Matters
When wrapping a boat, the type of surface you are working with affects both durability and appearance. Boats with a hull require specific attention because aluminum is smooth and sometimes slightly porous, which can impact the adhesion of wraps. For DIY enthusiasts, using a high-quality vinyl designed for metallic surfaces is crucial. If you skip this step, the wrap may peel or bubble over time, especially in harsh weather or under constant sun exposure.
Steps to Wrapping a Boat Like a Pro
Surface Preparation
Before applying any wrap, thoroughly wash and dry the boat. Remove dirt, grease, and salt deposits that could interfere with adhesion. Boats with an aluminum sheet surface may benefit from a mild abrasive polish to create a micro-texture for the vinyl to grip.
Planning the Layout
Plan your wrap design carefully. Measure every curve and corner to ensure the vinyl covers all areas without stretching too much. Mapping out the design on paper or digitally can save time and prevent costly mistakes.
Applying the Wrap
Start from one side and gradually apply the vinyl, smoothing out bubbles and wrinkles as you go. For complex curves, use a heat gun to make the vinyl more pliable. If wrapping a boat for the first time, it is helpful to work with a second person to handle large sheets and maintain alignment.
Finishing Touches
Trim excess vinyl along the edges and secure seams properly. Use edge-sealing solutions to prevent peeling, especially on boats with hulls, which can experience thermal expansion and contraction in changing temperatures.
DIY Boat Wrapping: Tips and Pitfalls
- Applying vinyl over poorly prepped surfaces
- Stretching the wrap too much, causing distortion
-
Ignoring corners and edges where bubbles often form
For those searching “boat wrapping near me,” professional services can help you avoid these pitfalls. But for DIY enthusiasts, investing time in preparation and technique is key.
Aluminum Sheet Preparation: Step-by-Step Guide from Fitting to Finishing
Step 1: Sheet Selection and Initial Fitting
Choose the right aluminum sheet and fit it on the frame, clamping it securely. Selecting the correct thickness and size ensures structural stability and easier handling later.
Step 2: Welding or Riveting the Sheet
 Attach the sheets using MIG welding or rivets, working in short sections to prevent warping. Proper attachment avoids gaps and ensures the sheet maintains its shape during further processing.
Step 3: Grinding and Smoothing Welds

Grind down welds and smooth the surface with a sander. Smoothing the welds prevents rough edges and prepares the surface for primer and coating.
Step 4: Sanding for Primer Adhesion

Sand the aluminum from coarse to medium grit to prepare for primer. Sanding creates a slightly rough surface that helps the primer stick better.
Step 5: Applying Epoxy Primer

Apply mixed epoxy primer evenly with roller or spray; let it cure. The primer acts as a protective layer and enhances paint durability.
Step 6: Filling Defects and Sanding
Check primer, fill low spots with thickened epoxy, and smooth it. Filling imperfections ensures a uniform and flawless surface for final finishing.
Step 7: Final Surface Ready

The aluminum sheet is now smooth and ready for painting or coating. At this stage, the sheet is structurally stable and aesthetically prepared for final finishing processes.
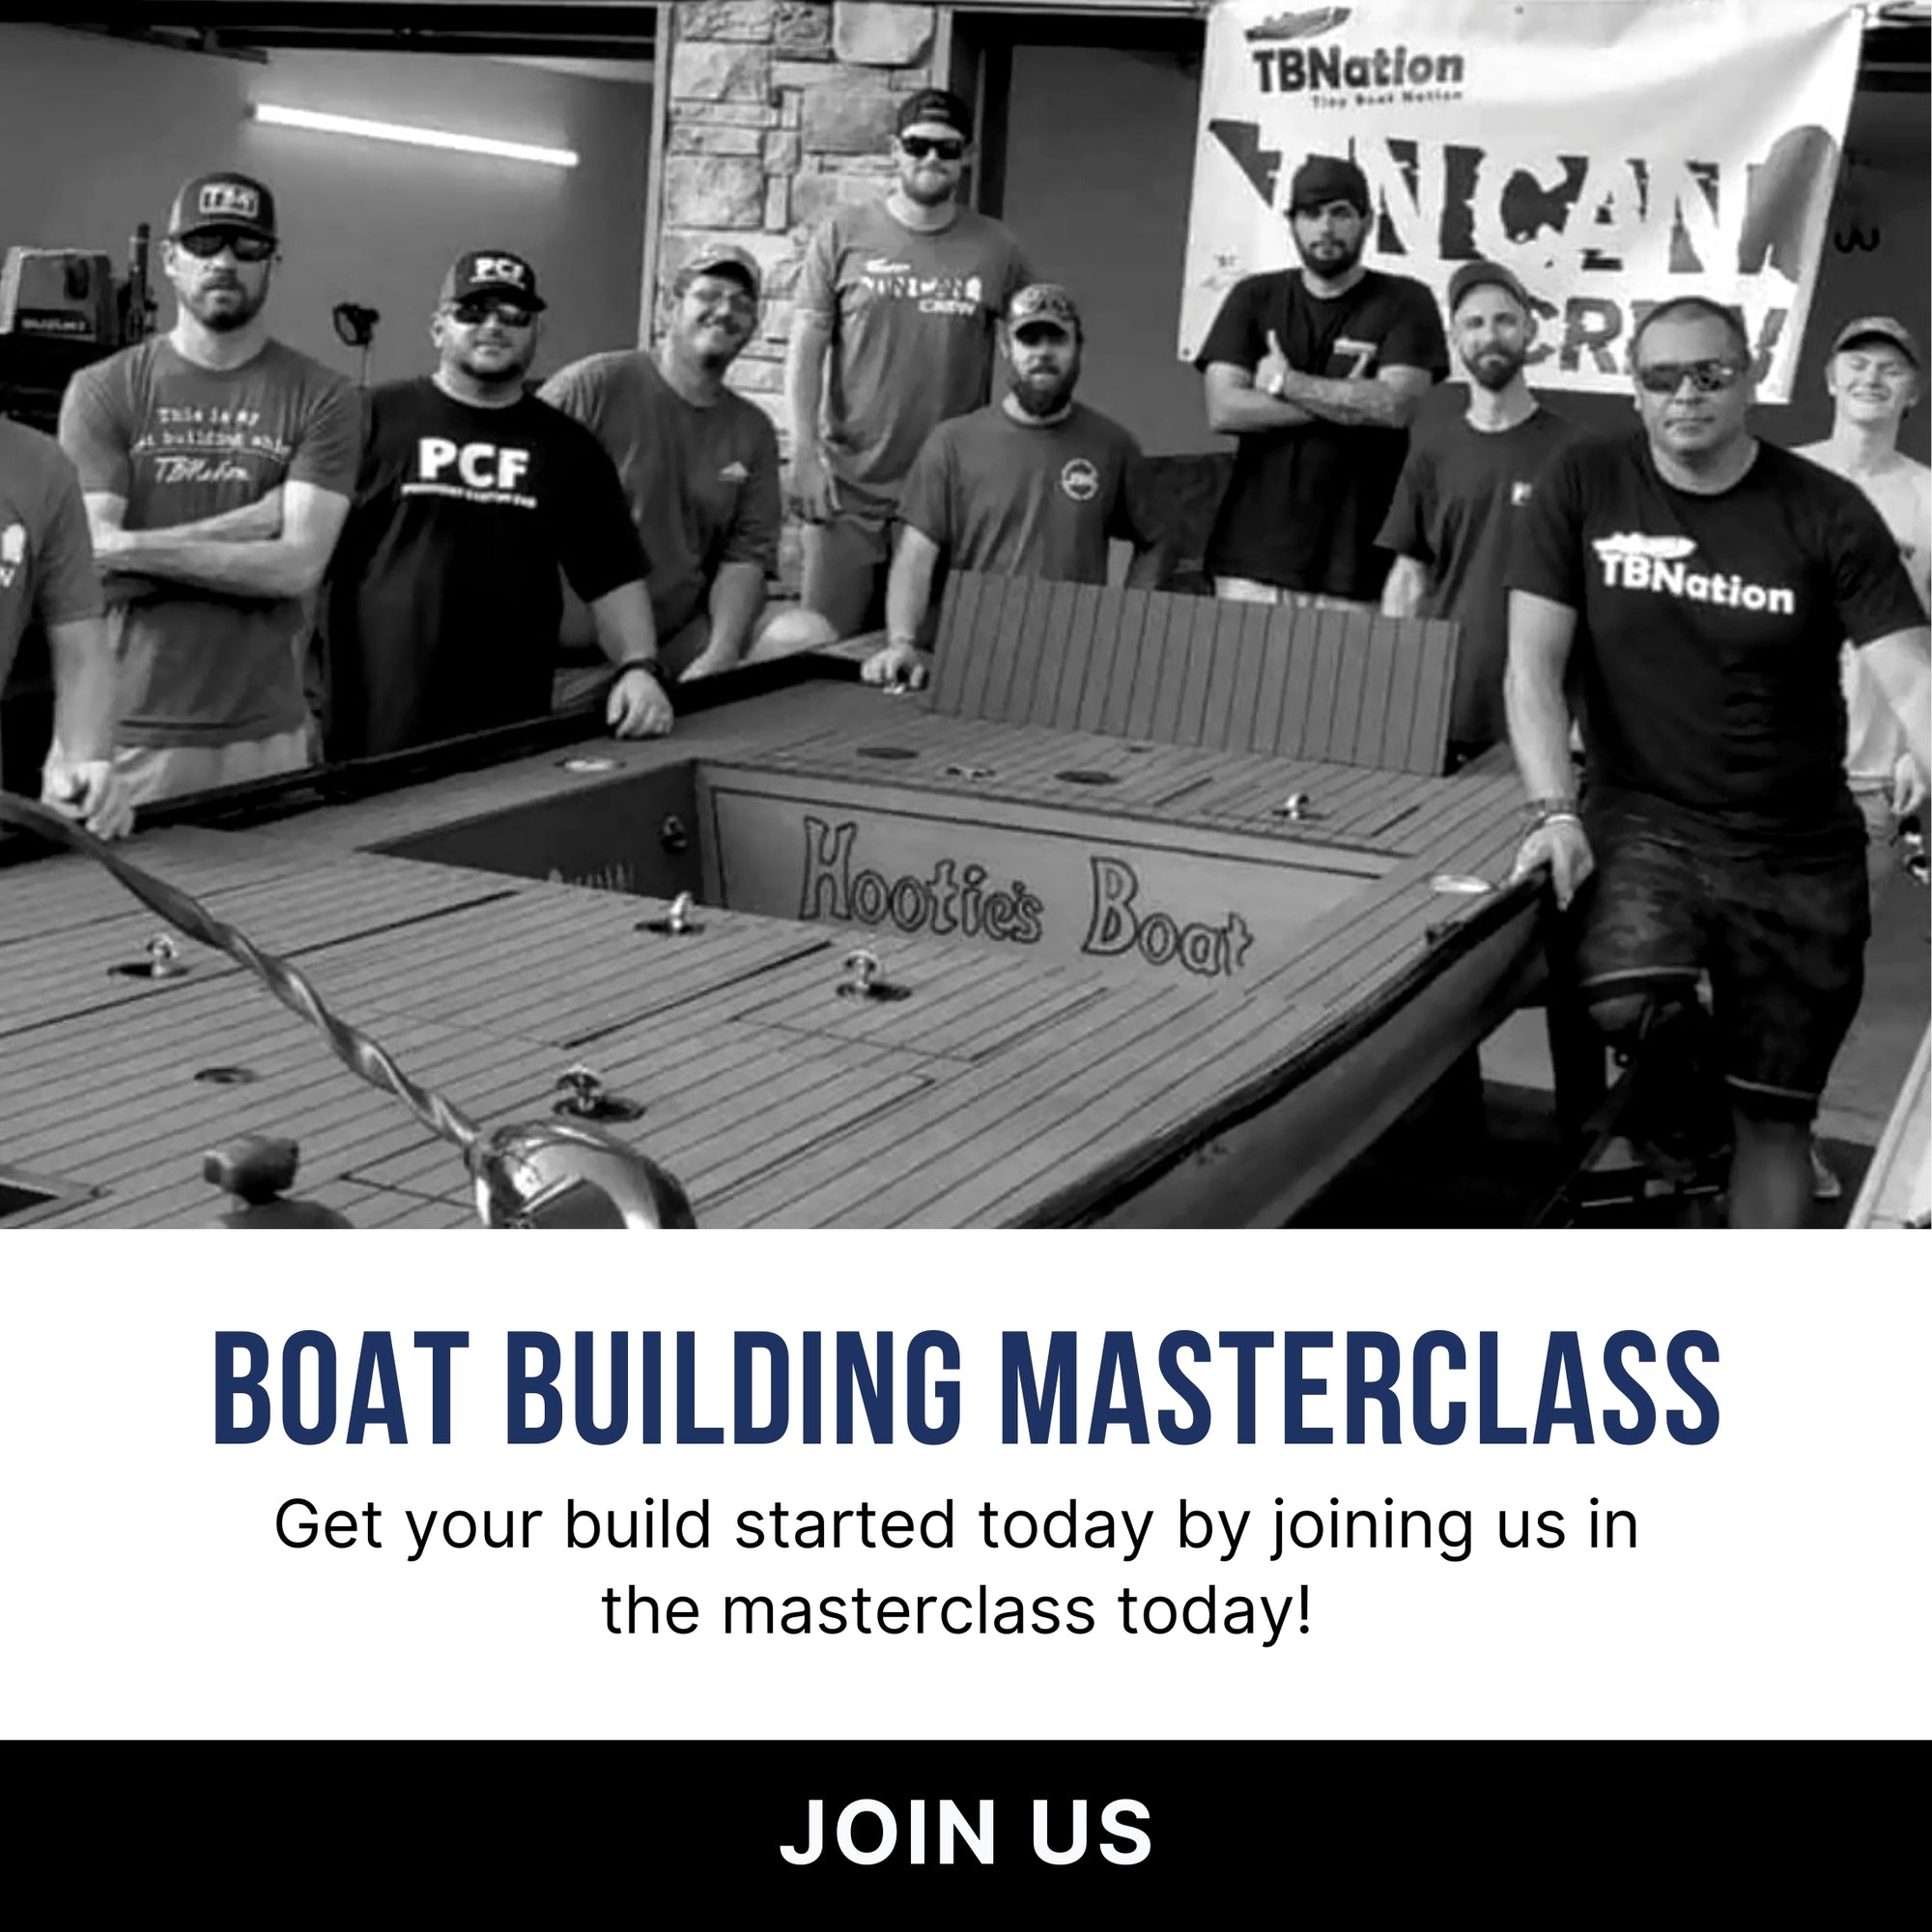
The "Wrap-First" Workflow: Integrating Your Rigging
When you are knee-deep in aDIY aluminum boat modification, the order of operations can make or break your timeline. A common question at the TBN support dock is whether to wrap the hull before or after installing heavy hardware.
We always recommend completing youraluminum hull restoration and applying the vinylbefore you mount permanent fixtures like aDouble Graph Mount or anAutoboat Smart Head. Wrapping first allows you to create a seamless, professional look under the brackets, preventing unsightly gaps or jagged cuts around the mounting plates. If you've already started a project, you can see how we handle these total transformations in our guide to aluminum Jon boat restoration.
- What to add: A section titled"The DIY Order of Operations: Wrap vs. Rigging."
- Key Insight: Advise builders to complete their hull wrapbefore mounting permanent fixtures like theDouble Graph Mount or theAutoboat Smart Head.
- SEO Benefit: This captures "long-tail" search queries like"do I wrap my boat before mounting a trolling motor?" or"installing Autoboat on wrapped hull."
Sealing the Deal: Marine Grade Adhesion and Traction Mats
A high-quality vinyl wrap provides excellent UV protection and aesthetics, but it requires specialized care at the transition points. For builders usingHydro-Turf on their casting decks, pay close attention to where the vinyl meets the foam.
Because aluminum hulls contract and expand in extreme temperatures, the edges of your wrap can be vulnerable to lifting if themarine grade adhesion isn't perfect. To "Arctic-proof" your build, we suggest applying an additional thin bead of marine-grade contact cement to the edges of your turf during installation. This creates a unified barrier that prevents water from seeping under the wrap. You can achieve a complete, showroom-ready look by pairing your fresh wrap with EVA foam boat flooring for maximum grip and style.
Maintenance & Specialized Protection (Hydro-Turf Integration)
A major "Edge Case" in our support tickets involves how specialized materials likeHydro-Turf (EVA Foam) interact with other boat surfaces in extreme climates.
- What to add: A section titled"Sealing the Deal: Wrap Edges and Traction Mats."
- Key Insight: Mention that while a wrap protects the aluminum, the transition points where the wrap meetsHydro-Turf casting decks are critical. In extreme cold, builders should use an additional marine-grade contact cement (like Weldwood) on the edges of their turf to ensure it doesn't peel and lift the wrap underneath when the aluminum contracts.
- SEO Benefit: This uses high-volume TBN keywords like Hydro-Turf, aluminum boat framing, and marine adhesive.
Customizing Your Boat: Beyond Colors
Boat wraps allow customization far beyond simple colors. You can integrate logos, patterns, and even reflective or glow-in-the-dark materials. Whether your goal is to customize boat branding or simply create a personal statement, wrapping opens many possibilities.
When using a hull, designs may need slight adjustments because metallic surfaces reflect light differently. This can affect the final appearance of certain colors or finishes. Consulting a professional or testing small samples first can prevent disappointment.
Maintenance Tips for Long-Lasting Boat Wraps
A boat wrap isn’t permanent; it requires care to maintain its look and durability. Regular cleaning with non-abrasive materials helps prevent scratches and fading. Avoid high-pressure washes directly on seams, especially on hulls where water can seep under the edges. Additionally, applying UV-protective coatings can extend the life of your wrap. For DIY boat projects, a simple maintenance routine goes a long way.
Cost Considerations: DIY vs Professional
DIY boat wrapping can save money but requires significant time and effort. A professional boat wrap, while more expensive, often provides flawless results, especially for boats with tricky surfaces like aluminum sheet hulls.
When comparing costs:
- DIY boat wrap: Material cost + tools + time investment
- Professional boat wrap: Material cost + labor + warranty
Finding the Right Services
If you prefer to leave it to the experts, search for “boat wrapping near me” to find certified installers in your area. Reading reviews and asking about experience with boats ensures you get high-quality results. Many installers also provide design services, helping you customize boat graphics that reflect your style.
Why Wrapping a Boat is Worth the Investment

Boat wrapping is not just a cosmetic upgrade. It provides functional benefits, such as protecting your boat from minor scratches, UV damage, and corrosion. For boats with hulls, wrapping can also prevent oxidation when paired with the right preparation and adhesive. Moreover, wraps can be removed or updated, giving your boat a fresh look without permanent modifications.
Conclusion: Start Smart and Plan Ahead
Boat wrapping is a blend of creativity and technical skill. Knowing the secrets before you start, like the importance of an hull, proper surface prep, and maintenance, can save you time, money, and frustration. With careful planning, attention to detail, and a commitment to quality, you can wrap a boat that reflects your personal style, protects your investment, and turns heads on the water. Remember, the magic of customized boat projects lies in preparation, patience, and precision.
Frequently Asked Questions
1: What is boat wrapping and why should I consider it?
Boat wrapping involves applying high-quality vinyl over your boat’s hull to change its look or protect it from UV rays and scratches. It’s a cost-effective alternative to painting and can even increase resale value.
2: Can I wrap a boat with an aluminum sheet hull?
Yes, but wrapping aluminum surfaces requires special preparation and vinyl designed for metal adhesion. Proper cleaning, etching, and priming help prevent bubbling or peeling over time.
3: How long does a boat wrap last?
A professionally applied wrap typically lasts 5–7 years, depending on exposure to sunlight, maintenance habits, and the quality of vinyl used. Regular cleaning and UV protectants extend its lifespan.
4: Is DIY boat wrapping worth it?
DIY boat wrapping can be rewarding and budget-friendly if you have time and patience. However, beginners often struggle with air bubbles, poor alignment, or adhesive issues, especially on complex aluminum or curved surfaces.
5: How much does professional boat wrapping cost?
Costs vary based on boat size, design, and materials. On average, a professional boat wrap ranges from $1,500–$5,000, while DIY projects cost less but require additional tools and prep materials.


Recent Posts


Please select the Blog in the settings on the right sidebar to display it
Join Our VIP List
Join the Tiny Boat Nation VIP Members List.
It's Free! Stay Up To Date With Announcements, Product Give Aways, News and Promotions.