Your Cart is Empty


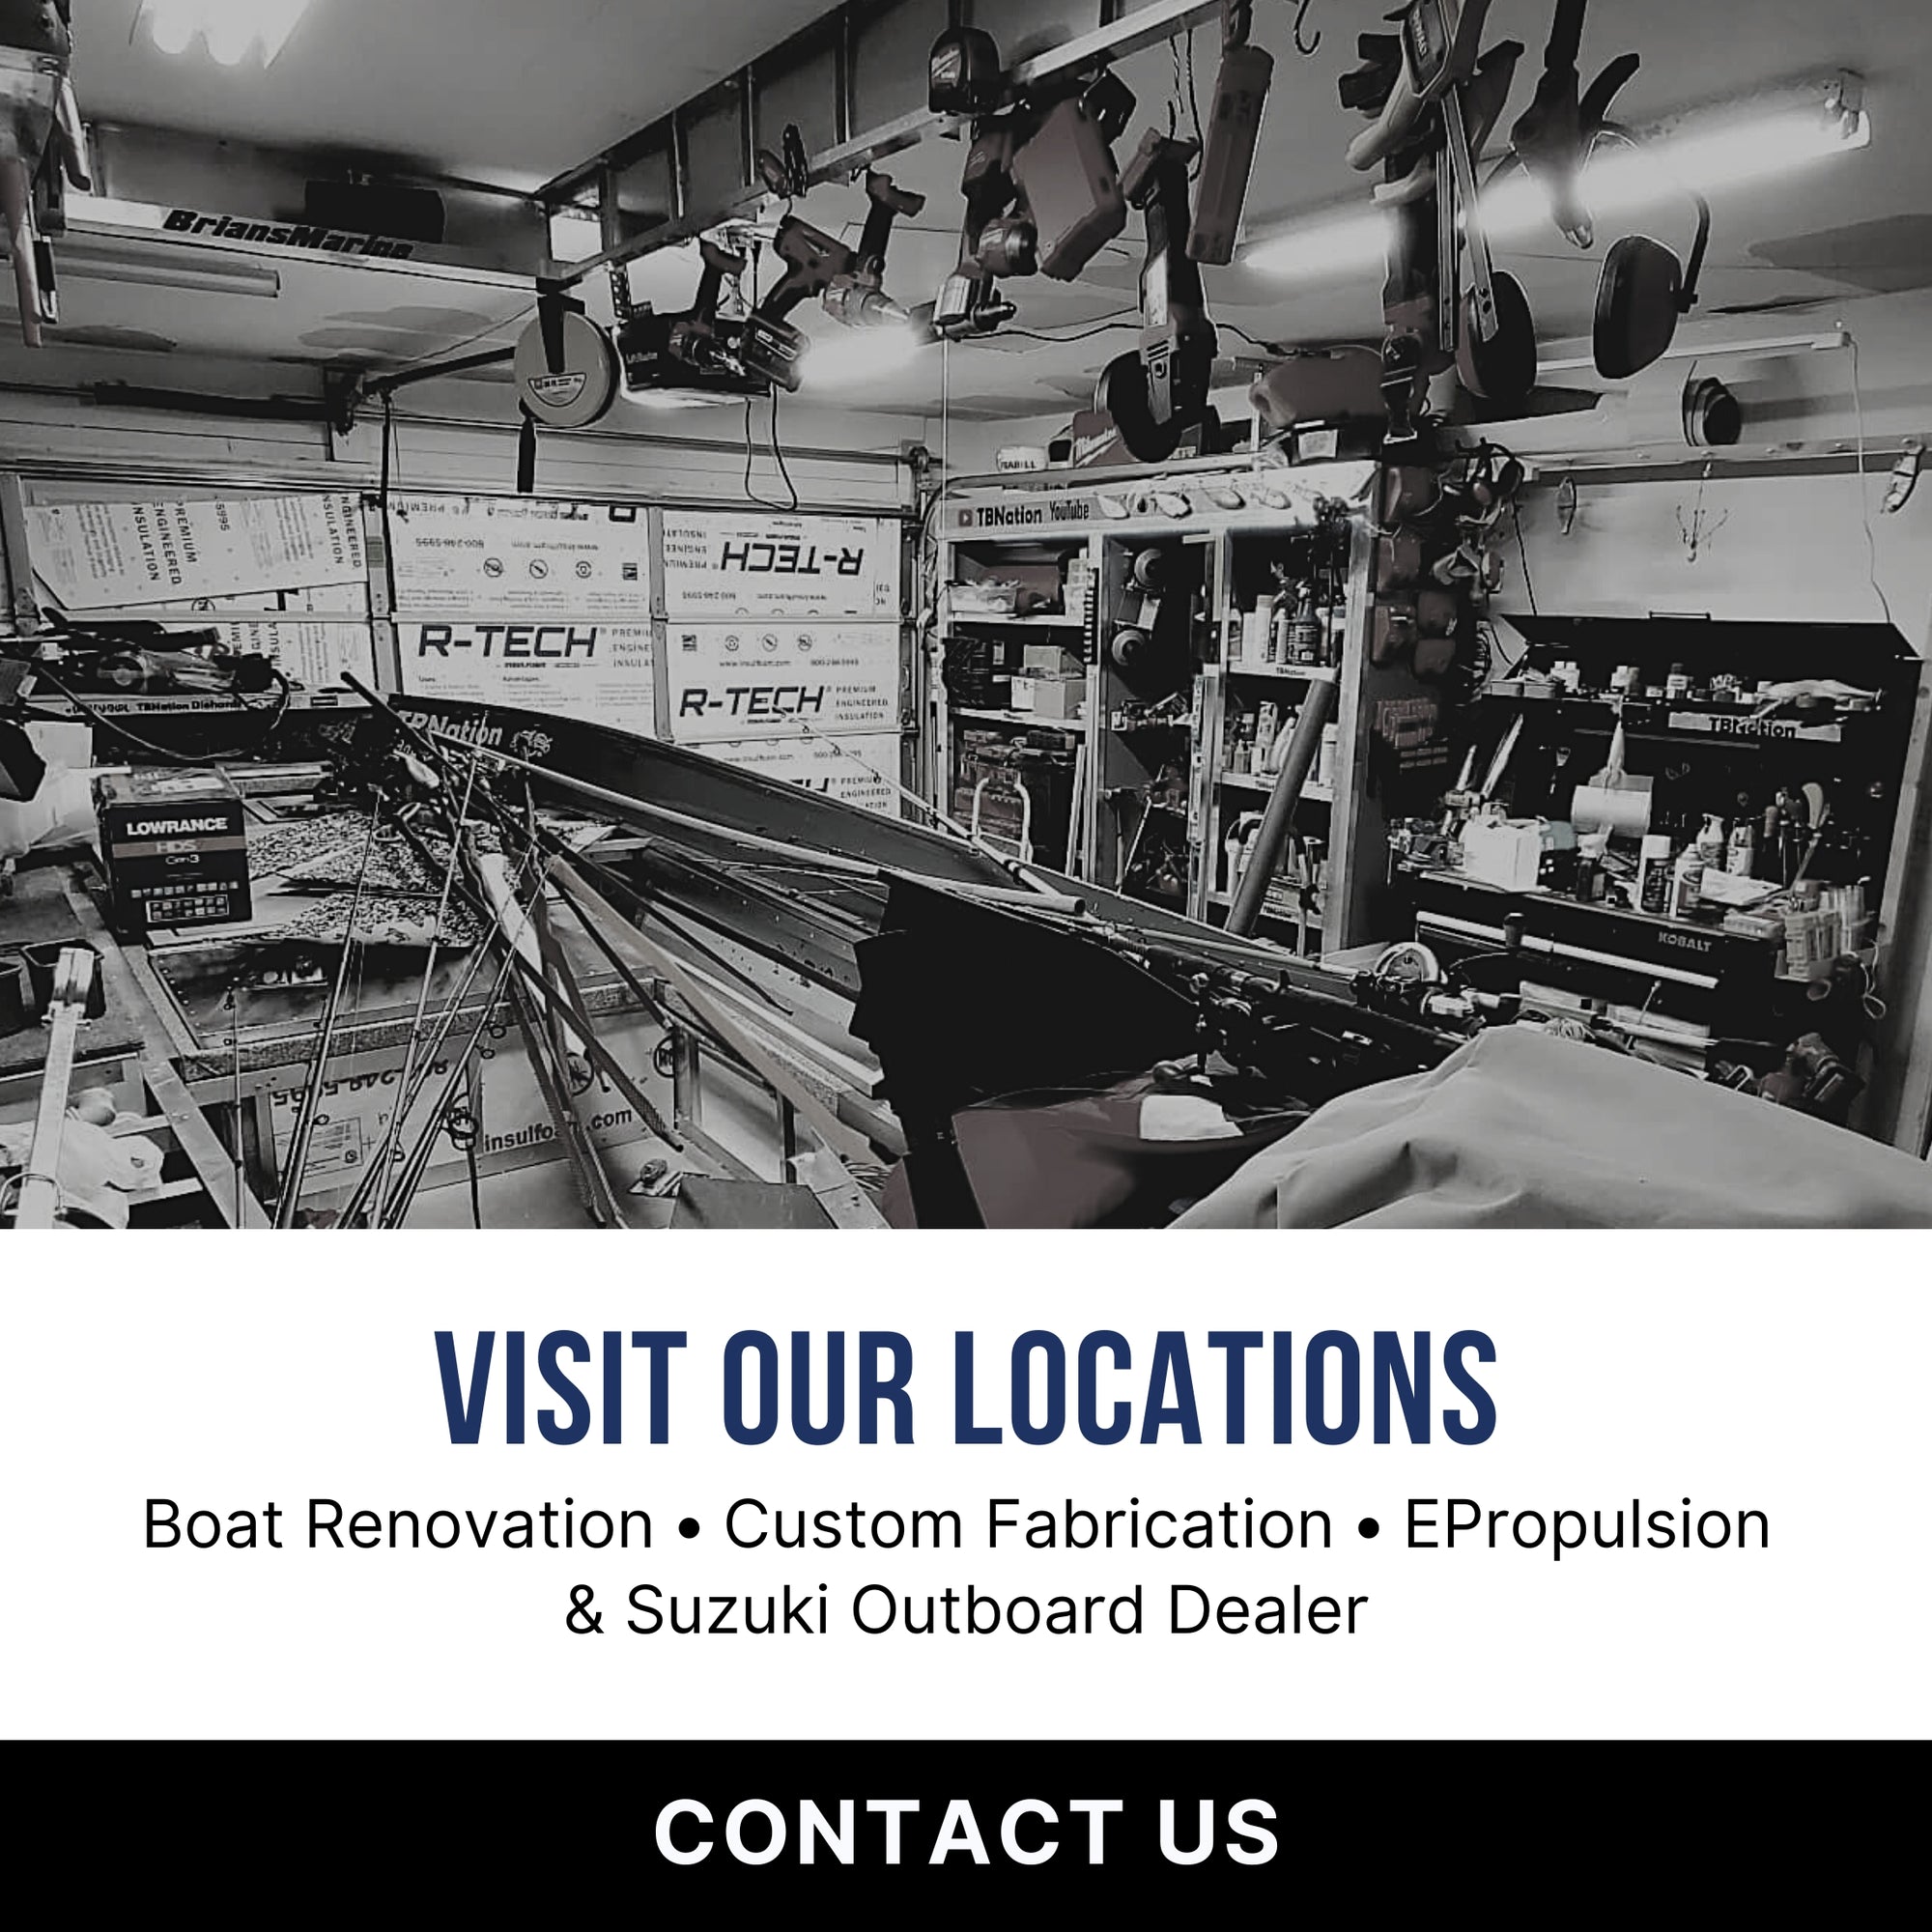

Jon Boat Side Console Upgrade: RPD 1822 Step-by-Step Guide
Key Takeaways
- Upgrading a jon boat with a side console improves driver comfort, ergonomics, and overall control.
- A side console Jon boat configuration adds valuable storage and organizes electronics for a cleaner deck.
- Proper selection of the best side console for jon boat depends on hull size, material, and intended use.
- Following a step-by-step installation guide ensures a sturdy, long-lasting boat console setup.
- Even an affordable side console for small boats kits can offer solid durability, ease of installation, and practical features.
- Smart planning for storage, wiring, and seating upgrades maximizes the efficiency of side console boats.
Upgrading a jon boat with a side console is one of the smartest improvements an owner can make. It adds comfort at the helm, improves visibility, centralizes controls, and creates valuable storage space for electronics and gear. For wide aluminum hulls like the RPD 1822, installing a side console for jon boat use can completely change how the boat performs on fishing runs, scouting trips, or casual cruising days.
This in-depth guide explains how to choose the right boat console, how to mount it correctly, and how to get long-term value from the upgrade. Along the way, you will learn what separates premium builds from an affordable side console for small boats, how to maximize storage, and how to avoid common installation mistakes.
Why a Side Console Transforms a Jon Boat
Many factory Jon boats rely on tiller steering or minimal helm layouts near the transom. While functional, these setups can feel cramped and awkward when running long distances or navigating tight waterways. Adding a side console jon boat configuration shifts the operator forward, improves balance, and creates a true command center for steering, throttle, gauges, and electronics.
Better Ergonomics and Driver Comfort
A side-mounted helm places the steering wheel, ignition, and shift controls in a natural seated position. Instead of twisting backward or leaning awkwardly, the driver can face forward with both hands comfortably positioned. This is especially valuable when running through stump fields, shallow flats, or winding river channels where fast reactions matter.
Over long days on the water, reduced fatigue becomes a major advantage. Many anglers report that converting toside console boats makes extended fishing sessions more enjoyable and safer, particularly when paired with a pedestal seat or leaning post.
Added Storage and Cleaner Deck Space
Another major benefit is organization. A side console with storage for jon boat layouts provides enclosed cavities for wiring, batteries, safety equipment, tackle boxes, and tools. Keeping these items off the deck reduces clutter and prevents tripping hazards when moving around the boat.
The console face also creates mounting surfaces for fish finders, GPS units, radios, and switch panels. This keeps electronics protected while making them easy to view at a glance.
A Professional, Purpose-Built Look
Once installed, a side console gives even a simple aluminum hull a more refined, purpose-built appearance. The helm becomes the focal point of the boat, turning a basic utility craft into something that resembles dedicated fishing rigs or river runners. For many owners, this visual upgrade alone makes the project worthwhile.
How to Choose the Best Side Console for a Jon Boat
Before beginning any drilling or wiring, it is important to select the best side console for jon boat use based on your hull size, budget, and intended activities.
Start by measuring the width of the interior where the console will sit. Walkways should remain clear, and there should be enough room for passengers to move past the helm without feeling cramped. Wider hulls like the RPD 1822 can accommodate larger consoles, while narrower boats benefit from compact designs.
Material choice also matters. Marine-grade aluminum offers strength with low weight and resists corrosion. Fiberglass consoles often provide smoother finishes and molded storage compartments but may weigh slightly more.
Look for features such as flat mounting areas for electronics, pre-cut gauge holes, switch panel locations, cup holders, and internal shelves. If you plan future upgrades, choose a side console for boat projects that has extra space for added accessories later on.
Budget-conscious builders should not be discouraged. Many manufacturers sell kits that qualify as an affordable side console for small boats while still offering sturdy construction and smart layouts. The key is prioritizing durability and mounting strength over decorative extras.
Jon Boat Side Console Installation Guide for the RPD 1822
Once the console is chosen, careful installation determines whether the upgrade feels solid and professional or loose and unfinished. This section functions as a complete jon boat side console installation guide, suitable for most aluminum hulls with only minor adjustments.
Tools and Materials You Will Need
Gather everything before starting:
- Measuring tape and marker
- Drill with marine-grade bits
- Stainless steel bolts, washers, and locking nuts
- Backing plates for thin decks
- Marine sealant or adhesive
- Screwdrivers and socket set
- Wire loom and zip ties
- Rubber grommets
- Safety glasses and gloves
Having these on hand prevents rushed shortcuts during critical steps.
Positioning the Console
Most operators install the console on the starboard side because it mirrors traditional helm layouts, but port-side placement can also work depending on seating and weight distribution.
Set the console in place without fastening it and sit where the driver will be positioned. Check forward visibility over the bow, elbow and knee clearance, walking room around the helm, and access to storage compartments or deck hatches. Once satisfied, lightly trace the base outline and mark mounting holes.
Drilling and Securing the Base
Drill pilot holes slowly to avoid tearing thin aluminum. Under the deck, install backing plates or wide washers to spread the load and prevent flexing over time.
Apply marine sealant beneath the console base and around each hole, then bolt everything down firmly. Tighten until snug but avoid crushing the metal. A solid foundation is essential for any side console jon boat conversion, especially when running in chop or rough water.
Routing Steering and Control Cables
Steering cables, throttle lines, and electrical harnesses should run cleanly from the transom to the helm. Use existing channels where possible or drill new pass-through holes fitted with rubber grommets to prevent abrasion.
Bundle wires neatly with loom and zip ties. Before finalizing anything, turn the wheel from lock to lock and shift through gears to confirm smooth operation.
Installing Gauges, Switches, and Electronics
Mount gauges, ignition switches, and accessory panels into the console face. If you plan to run sonar units or chart plotters, install brackets now and route power leads through protected channels.
Label switches clearly so they are easy to identify at a glance. Test every circuit before closing access panels. Clean electrical work not only looks professional but also simplifies troubleshooting later.
Final Adjustments and Finishing Touches
Seal any remaining cable entries, wipe away excess adhesive, and re-check hardware after the sealant cures. Many builders personalize their side console for jon boat projects with custom paint, upholstery, or decals that match the rest of the hull.
Add trim pieces or rubber edging where passengers might brush against sharp corners. These small touches improve comfort and give the installation a factory-finished appearance.
Step-by-Step Jon Boat Side Console Upgrade: RPD 1822 Installation Guide
Step 1: Plan the Side Console Layout and Steering Wheel Position

Lay out the steering wheel by finding the console center, positioning the trim ring, marking the cut line, and slowly drilling the main shaft hole through the thick, reinforced plastic.
Step 2: Cut the Steering Cable Pass-Through Opening

Create an oblong slot by drilling two holes and connecting them with a jigsaw so the stiff steering cable can route smoothly toward the transom with extra clearance.
Step 3: Mount and Align the Rotary Steering System

Bolt the mounting plate to the console, then carefully rotate and secure the rotary steering unit with a helper inside to ensure all three bolts line up on the angled face.
Step 4: Cut Openings for Gauges, Screens, and Switch Panels

Use a low-speed oscillating tool to remove the outer skin first, work patiently through the backing layer, clean edges with a razor blade, and prepare all panels for installation.
Step 5: Secure, Level, and Brace the Console Inside the Boat

Attach the console to the side panel or gunnel with stainless self-tapping screws, level it by eye, clamp and fasten the support leg, and reinforce everything with the included L-bracket riveted or screwed to the subfloor.
Step 6: Inspect Long-Term Durability and Finalize the Installation

Shake the console firmly to confirm rigidity, seal openings, reinstall hardware after curing, and verify the setup has held up after years of tournament use.
Getting the Most from Your Side Console Upgrade

A console is more than a steering station. With thoughtful planning, it becomes the organizational heart of the boat.
Smart Storage Planning
Install small shelves, hooks, or removable bins inside the console cavity. This keeps pliers, spare prop nuts, first-aid kits, and fuses easy to reach. Vertical storage solutions maximize space without crowding the helm.
Protecting Electronics
Even waterproof screens benefit from splash guards and vibration-dampening mounts. Consider routing wiring so that connectors stay elevated and dry, extending the life of expensive gear.
Maintaining Proper Balance
Avoid loading all heavy items on the console side. Spread batteries, anchors, and coolers evenly throughout the hull to maintain good trim and predictable handling.
Seating Upgrades
Pairing the console with a comfortable pedestal seat or leaning post can transform long runs across open water. This combination makes many side console boats feel closer to full-sized fishing rigs while preserving the simplicity of an aluminum hull.
Choosing Budget-Friendly Options
Not every project requires a custom-built helm. Many off-the-shelf kits deliver excellent value and qualify as an affordable side console for small boats when selected carefully.
Focus on marine-grade materials, solid mounting flanges, room for electronics, and enough internal volume for wiring and storage. These characteristics matter far more than flashy finishes.
Conclusion
Installing a side console on an RPD 1822 or similar jon boat is one of the most rewarding upgrades an owner can tackle. Better ergonomics, organized storage, cleaner electronics layouts, and improved control all combine to elevate the boating experience.
By following this step-by-step jon boat side console installation guide, selecting the best side console for jon boat needs, and paying attention to balance and wiring details, you can turn a basic aluminum craft into a capable, well-organized fishing and cruising platform with a fully functional boat console. Whether you are stalking shallow flats, running long river stretches, or enjoying weekend outings, a thoughtfully installed side console with storage for jon boat use proves that practical modifications often deliver the biggest improvements on the water.
Frequently Asked Questions
Q1: What is a side console on a jon boat?
A side console is a helm setup mounted to one side of the boat, providing steering, throttle, switches, and storage in a central, ergonomic location.
Q2: Why should I upgrade my jon boat with a side console?
A side console improves visibility, driver comfort, and balance while offering a professional, purpose-built look and organized storage for electronics and gear.
Q3: What is the best side console for a jon boat?
The best option depends on hull size and material preference. RPD 1822 consoles are popular, and quality choices include roto-molded poly or marine-grade aluminum designs.
Q4: Can I install a side console myself?
Yes, following a jon boat side console installation guide with proper tools, leveling, cable routing, and secure mounting will allow most boat owners to do it themselves.
Q5: Are there budget-friendly options?
Yes, many manufacturers offer affordable side consoles for small boats kits that are durable, easy to install, and include storage and mounting features.


Recent Posts


Please select the Blog in the settings on the right sidebar to display it
Join Our VIP List
Join the Tiny Boat Nation VIP Members List.
It's Free! Stay Up To Date With Announcements, Product Give Aways, News and Promotions.